Going live on Instagram with a massive number of active users can greatly increase your visibility. Although most people go live from their phones, you will be way ahead of everyone else if you know how to go live on Instagram on PC.
Going live on your computer or laptop opens up a world of possibilities: better camera setups, smoother audio, screen sharing, and more professional broadcasts.
Going live from your desktop gives you more control, creativity, and a professional edge that mobile setups often lack.
We have developed this 3-step guide to help you go live on Instagram from pc.
How to Go Live on Instagram on PC?
Instagram has changed the game for content creators with its desktop live streaming capabilities, making many Instagram influencers wonder how to go live on Instagram on PC.
Unlike before, when going live was limited to mobile devices, you can now broadcast from your computer with enhanced production quality.
You only need to know some settings and third-party apps to start live streaming:

#1 Switch to a Professional Account
To access Instagram Live Producer on PC, you must have a Professional Instagram account first. Personal accounts don’t support desktop streaming capabilities. Fortunately, upgrading is completely free and straightforward.
Here’s how to switch to a Professional account:
- Go to your Instagram profile page on desktop
- Click the “More” button (☰) in the left sidebar
- Select “Settings” then find “Account Type and Tools“
- Click “Switch to Professional Account” and follow the prompts
- Choose either “Creator” or “Business” account type
After you choose your account based on what you do on your page, you can move to the next steps.
Unlike other platforms, Instagram doesn’t require a minimum follower count to upgrade your account. However, the Instagram Live feature will be accessible if you have at least 1K followers. Don’t worry if you still don’t have this number of followers. You can easily get 1K followers in 5 minutes.
Additionally, you can always switch back to a personal profile later if needed.
#2 Access Instagram Live Producer
Once you’ve switched to a Professional account, accessing Instagram Live on desktop becomes straightforward.
Instagram Live Producer is the tool that enables PC streaming through external software.
Also, having a quick pre-stream checklist can always help you to stay on plan and avoid unnecessary problems.
To access Instagram Live Producer on your laptop or PC, you can follow the steps below to easily start your Instagram Live:
- Log in to Instagram.com on your desktop browser.
- Look for the “Create” button (+ icon) in the left sidebar.
- Click the “+” and select “Live Video” from the dropdown menu.
- Enter your desired stream title in the next screen.
- Choose “Public” for your audience setting.
- Click “Next” to proceed to the stream key page.
This powerful tool allows you to connect external cameras, microphones, and graphics – making your Instagram live on a laptop look professionally produced.
#3 Get Your Stream Key & URL
The final step before going live on Instagram from PC involves obtaining your unique streaming credentials. After clicking “Next” in the previous step, Instagram generates two essential pieces of information:
- Stream URL – The destination address for your broadcast
- Stream Key – A unique code that authenticates your stream
Copy both into your streaming software of choice as well. It’s also important to keep in mind that your stream key is temporary – it will refresh as you go live for each broadcast. And do not ever share your stream key publicly because it gives access to your account.
After receiving these credentials, keep the Instagram window open. Subsequently, you’ll need to configure your streaming software with these details to complete the Instagram live PC setup process.
Once your streaming software is linked to Instagram, you’ll be another step away from sharing high-quality live content.
Choose Your Streaming Software
The next step is to choose which streaming software connects your computer setup to Instagram. Choose the software carefully because it will ultimately determine how professional the streams look when your viewers join.
Here are some platform that supports several popular options:
| Streaming Software | Key Features | Ease of Use |
| OBS Studio | Free, highly customizable, powerful | Moderate |
| StreamYard | Browser-based, easy-to-use, guest management | Easy |
| Riverside | High-quality recording, separate audio tracks | Easy |
| Streamlabs | User-friendly interface, widgets | Easy |
| Restream | Multistreaming capabilities | Moderate |
#1 OBS Studio
OBS Studio (Open Broadcaster Software) is a free open-source program used by millions of creators to live stream and record. It works on Windows, macOS, and Linux operating systems, so it is versatile and provides professional features even if you are not familiar with the software.

Benefits of OBS Studio:
- Free & Open-Source: No hidden costs or limitations.
- Multi-Source Control: Stream both your webcam, screen, images, and overlays.
- Real-Time Audio/Video Mixing: Change volume and visuals on the fly while you are live.
- Customizable Scenes: Switch between layouts and transitions with a simple click.
- Platform Flexibility: Can stream to Instagram (with third-party software), YouTube, Twitch, and more.
The flexibility and power of OBS Studio make it a choice for new and advanced streamers looking to create professional-quality live broadcasts.
#2 StreamYard
StreamYard is an intuitive live streaming studio that runs in the browser, so it’s suitable for beginners and has easy integration to stream live on Instagram, Facebook, and YouTube without needing to download any software or app.
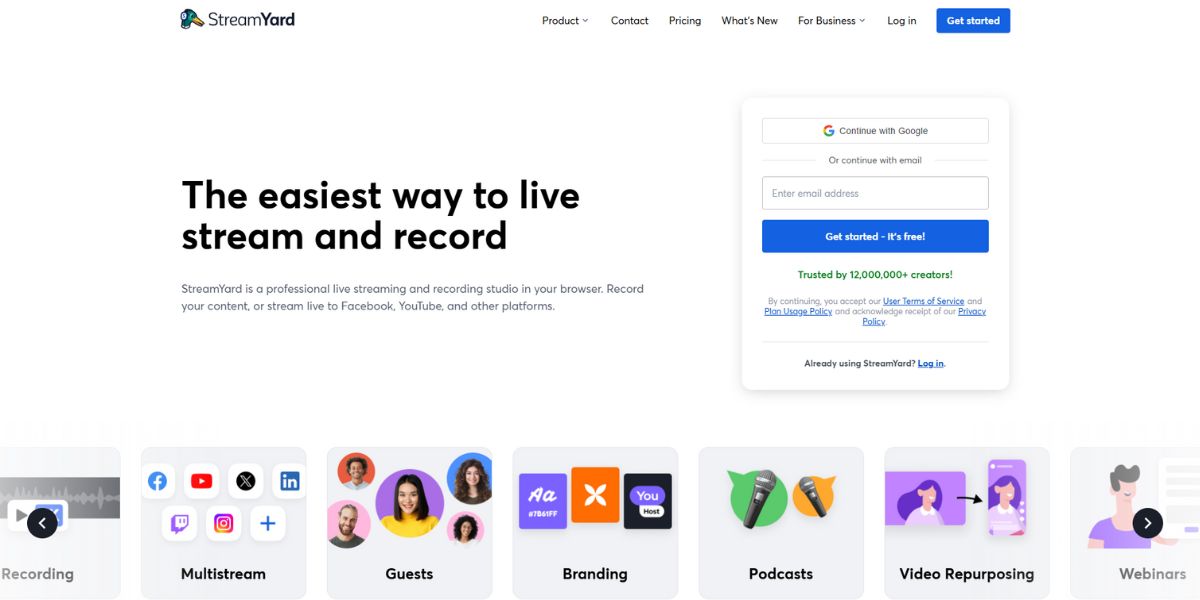
Some of the highlights include:
- One-click to invite guests (and co-hosts) via links.
- On-screen comments, banner, and brand overlays.
- Customized professional branding with logo, layout, and background options.
- Constantly reliable even with average PCs.
In just under a few minutes, StreamYard helps creators produce polished and high-quality live streams. It’s easy, fast, and professional!
#3 Riverside
Riverside is an online remote recording studio developed for podcasters and creators who want studio-quality audio and video without the worry of complicated gear.

It records each participant locally (so quality doesn’t degrade due to the internet), allows you to download individual audio and video tracks, supports up to 4K video, and records audio as uncompressed WAV files for pro-level post production.
Riverside is also a live-streaming and editing platform that allows you to:
- Multistream to YouTube, Facebook, Twitch, LinkedIn, or any RTMP destination.
- Use Riverside’s built-in editing studio, automatic transcripts, and text-based editing.
This veritable mix of high-quality recording, easy setup, and editing is why many creators will use Riverside for interviews, live shows, and remote productions.
Prepare Your Streaming Environment
Before going live on Instagram through PC, you might want to make sure your streaming area is ready.
Having your setup right will not only make your broadcasts look and sound professional but also help you keep the audience engaged throughout your stream.

#1 Check Your Internet & Lighting
For streaming on Instagram from your PC, you definitely need a stable internet connection. Just run a quick speed test to confirm you have at least 5 Mbps upload speed for a hassle-free stream.
In any case, it is better to use an Ethernet cable rather than Wifi so that your stream will not be interrupted.
Additionally, lighting makes a massive difference in how professional your stream appears. Research shows viewers form impressions within the first 8-10 seconds. Poor lighting is ranked among the top three reasons viewers abandon streams. Consider this lighting setup:
| Light Type | Placement | Purpose |
| Key Light | In front, slightly off-center | Main illumination |
| Fill Light | Opposite side of the key light | Softens shadows |
| Backlight | Behind you | Creates depth, separates from the background |
Place your main light source at eye level, or slightly above, and angle it towards your face to maintain a nice, even light on your face.
Remember, expensive gear isn’t required for proper Instagram live stream lighting – even an adjustable desk lamp will work fine.
#2 Check Your Microphone
Your laptop’s built-in microphone just doesn’t deliver audio quality like viewers expect. Research clearly states that audio quality matters much more than video in keeping viewers engaged.
A dedicated microphone will greatly improve your sound quality while you stream on your Instagram desktop.
For beginners learning how to stream on Instagram from a PC, a USB microphone offers the perfect balance of quality and simplicity.
For beginners, a USB microphone usually offers the best balance of sound quality and simplicity. Plug it into your PC, and you’re ready to go. If you plan to upgrade later (multiple mics, music, or more control), consider an XLR setup with an audio interface.
Simply connect it and begin your live stream. Put your microphone at a distance of 6, 8 inches from your mouth, and you will get clear sounds without any noise from the room.
#3 Check Your Camera
Just like with mobile phone cameras, the webcams attached to laptops are also not exceptionally professional for Instagram Live on desktop.
Even the cheapest external webcams will offer notable improvements in webcam image quality. The Logitech Brio 505 will shoot crystal-clear 1080p images with solid white balance and good focus speed. Put your webcam at eye level for the best appearance.
#4 Clean Background
The surroundings you use for streaming determine the image of you that your audience gets. A laptop live on Instagram from a messy or noisy room may make the people watching your live focus on the place instead of listening to what you say.
Some simple questions you can ask yourself are:
- Remove all that is unnecessary and that could distract the eye of your viewer
- Work on a neat, tidy area that makes the appearance of your content better
- Think of your brand and what the background for your work says to others
#5 Quiet Background
Sound treatment is equally important for Instagram Live on PC. Use rugs, curtains, or foam panels to minimize echo and external noise.
Test your entire setup before broadcasting by recording a short test video. Review it critically, checking:
- Is there anything distracting in the background?
- Is your audio clear and free of echo?
- Is your lighting good? Are there harsh shadows?
- Is your camera angle kind?
Instagram offers a helpful “practice mode” that allows you to test your setup without notifying followers. Use this feature to perfect your environment before officially going live on Instagram from PC.
Tips to Improve & Promote Your Live Sessions
Successfully setting up your Instagram live PC broadcast is just half the battle. To truly maximize your reach, you need effective promotion strategies both before and after going live.

Use Instagram Stories to Build Hype
Creating buzz for your Instagram live on desktop starts with Stories. Post eye-catching Stories with countdown stickers so followers can set reminders. For this, you can use the best apps for stories to make professional stories.
Additionally, use polls and quizzes to boost anticipation. Creating a dedicated highlight for your upcoming stream helps organize all related promotional content in one place.
Undoubtedly, teasing special content or inviting guests by mentioning them on Instagram stories encourages more viewers to join your broadcast.
Schedule Your Live in Advance
Instagram’s scheduling feature lets you book your live PC stream up to 90 days ahead. You can also use top Instagram schedulers to plan for everything.
Consequently, this gives followers plenty of time to mark their calendars. To schedule:
- Open the Instagram Stories camera and swipe to “Live“
- Select “Schedule” from the side panel
- Enter title, date, time, and tap “Schedule Live Video“
Plus, Instagram’s “Practice Mode” lets you test your setup privately before broadcasting.
Engage with Viewers During the Stream
When streaming on Instagram from a PC, real-time interaction keeps viewers watching longer. Address commenters by name as they join, particularly those who regularly support you.
Pose simple questions like “Where are you watching from?” to spark engagement. Certainly, providing brief recaps helps late-joining viewers follow along.
Save & Repurpose Your Live Video
After ending your Instagram live on laptop broadcast, save it to extend its lifespan. Access your Live Archive through your profile menu. Furthermore, repurpose your content by:
- Creating highlight reels for Stories or Reels
- Sharing clips as bite-sized videos
- Using footage in newsletters or blogs
This strategy ensures your PC’s Instagram live content reaches those who missed the original broadcast.
Conclusion
Going live on Instagram from your PC can instantly boost your content quality and help you stand out. It’s the main reason most people want to learn how to go live on Instagram on pc.
With the right setup, good lighting, a quality mic, and a clean background, you’ll keep viewers engaged far better than on mobile.
Plus, using third-party apps or desktop tools unlocks pro features like screen sharing, multiple camera angles, and custom graphics that make your streams look polished and professional.
FAQs
Why does OBS/StreamYard start streaming, but nothing shows in Instagram?
It is usually an expired or one-time stream key, bad RTMP settings (use 720×1280 @ 30fps), or a browser permission/connection issue. Please regenerate the key, match vertical settings, make sure you keep the Live Producer tab open, then restart your software.
Can I invite guests when streaming from my PC?
Indeed, Instagram Live Rooms can have guests (usually up to 3) or use the StreamYard/Streamlabs guest links to bring guests into your PC production before sending it to Instagram.
How do I add captions or make my Live accessible?
Either activate Instagram’s captions automatically, or use a service to caption/burn-in your video in real-time, for enhanced precision and/or translations. Captions improve access and enthusiasm for your video content.